🔥 Customize your terminal from zero to hero with Oh My ZSH and Powerlevel10k
The terminal is without a doubt one of the most used tools for any developer. So if you want to give a personal touch to that little window that helps you run all your commands, stick with this post.
The terminal is without a doubt one of the most used tools for any developer. So if you want to give a personal touch to that little window that helps you run all your commands, stick with this post. With a few configurations we'll see how to change colors, add icons, themes and even a background image if you want.
First install Zsh on your terminal
Terminals work with a small piece of software that allows us to enter commands and interact with our computer's system. This software is generically known as a command interpreter or shell. By default, the vast majority of Unix/Linux systems come with a shell called Bash, but recently there's a shift towards using Zsh, which is friendlier and comes with many improvements. macOS already uses it by default in Catalina. To install it, just open your terminal and run the package manager depending on your system:
Ubuntu / Debian
sudo apt install zsh
Fedora
sudo dnf install zsh
Arch Linux
sudo pacman -Sy zsh
To verify it was installed correctly, just check the version of your new shell with:
zsh --version
The last thing you need to do is set it as your default interpreter. You can do this with the chsh utility, which means "change shell". You can see this in the following command that finds the Zsh binary and sets it as default:
chsh -s $(which zsh)
💡Note: if the chsh command doesn't come installed by default, try searching for and installing the util-linux package for your system.
Give your terminal superpowers with Oh My Zsh
Oh My Zsh is the best of Zsh—basically it's like putting steroids on your terminal, as it lets you install themes, plugins and many features that will make your life easier. To install it you just need to run this command in your terminal and the install script will do the rest:
sh -c "$(curl -fsSL https://raw.github.com/ohmyzsh/ohmyzsh/master/tools/install.sh)"
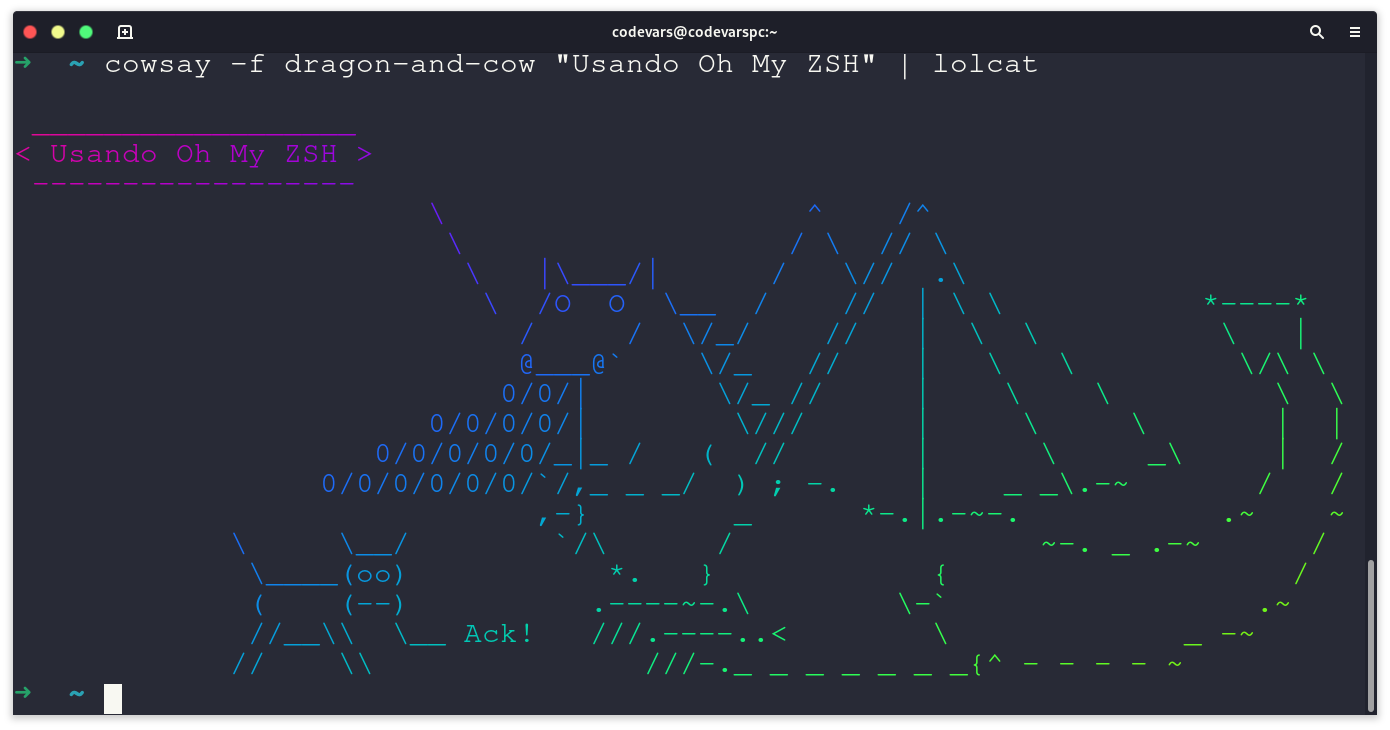
When it's done you'll see how your terminal cursor looks completely different. That's because the Oh My Zsh theme is now reflected on your system. Here's an example of how it looks with a message using cowsay and a dragon.
Customize your new terminal
Even if you're used to the old but reliable default system terminal, it's much better if you switch to a terminal emulator like Tilix, which is personally my favorite. This terminal allows you to do window splitting plus deep customization: color schemes, fonts, opacity and backgrounds. All in a friendly and simple way. To install it, just run the following command depending on your system:
Ubuntu / Debian
sudo apt install tilix
Fedora
sudo dnf install tilix
Arch Linux
sudo pacman -Sy tilix
Now find it in your applications and open it. At first it will look like any other terminal, but what we'll do next is add a background image, change transparency and the color scheme. You can change all these settings in the profile and appearance menu as shown below:
video: https://youtu.be/Z4gHd0DvEos
As you see in the video, it's very easy to set the background image, adjust transparency and create a color palette. Each of the colors shown in the colors section can be modified. Experiment with all possible settings until it suits your taste. The great advantage of Tilix is that you can save multiple profiles. 😉
🍒 The cherry on top: add a theme to your new shiny terminal
To finish, you'll install a very special theme on your new terminal: Powerlevel10k. This theme is super nice and highly customizable. It shows icons, sections, directories and different ways information is grouped inside the terminal. To install this theme and have your terminal exactly as you want, you only need to install two things: a nerd font and the theme itself.
The nerd font is a special font that contains hundreds (or thousands) of icons to display as text, such as when you're in a Git repo (this is super useful), Dropbox files, remote branches, etc. I recommend you download and install the font recommended for this theme: MesloLGS NF. You'll find the download links in the original project; there are four .ttf files to download and install. You can also install any of the other available nerd fonts if you prefer.
Once you have the fonts installed, use them as the default font in Tilix; check out this GIF that explains it simply. 😄
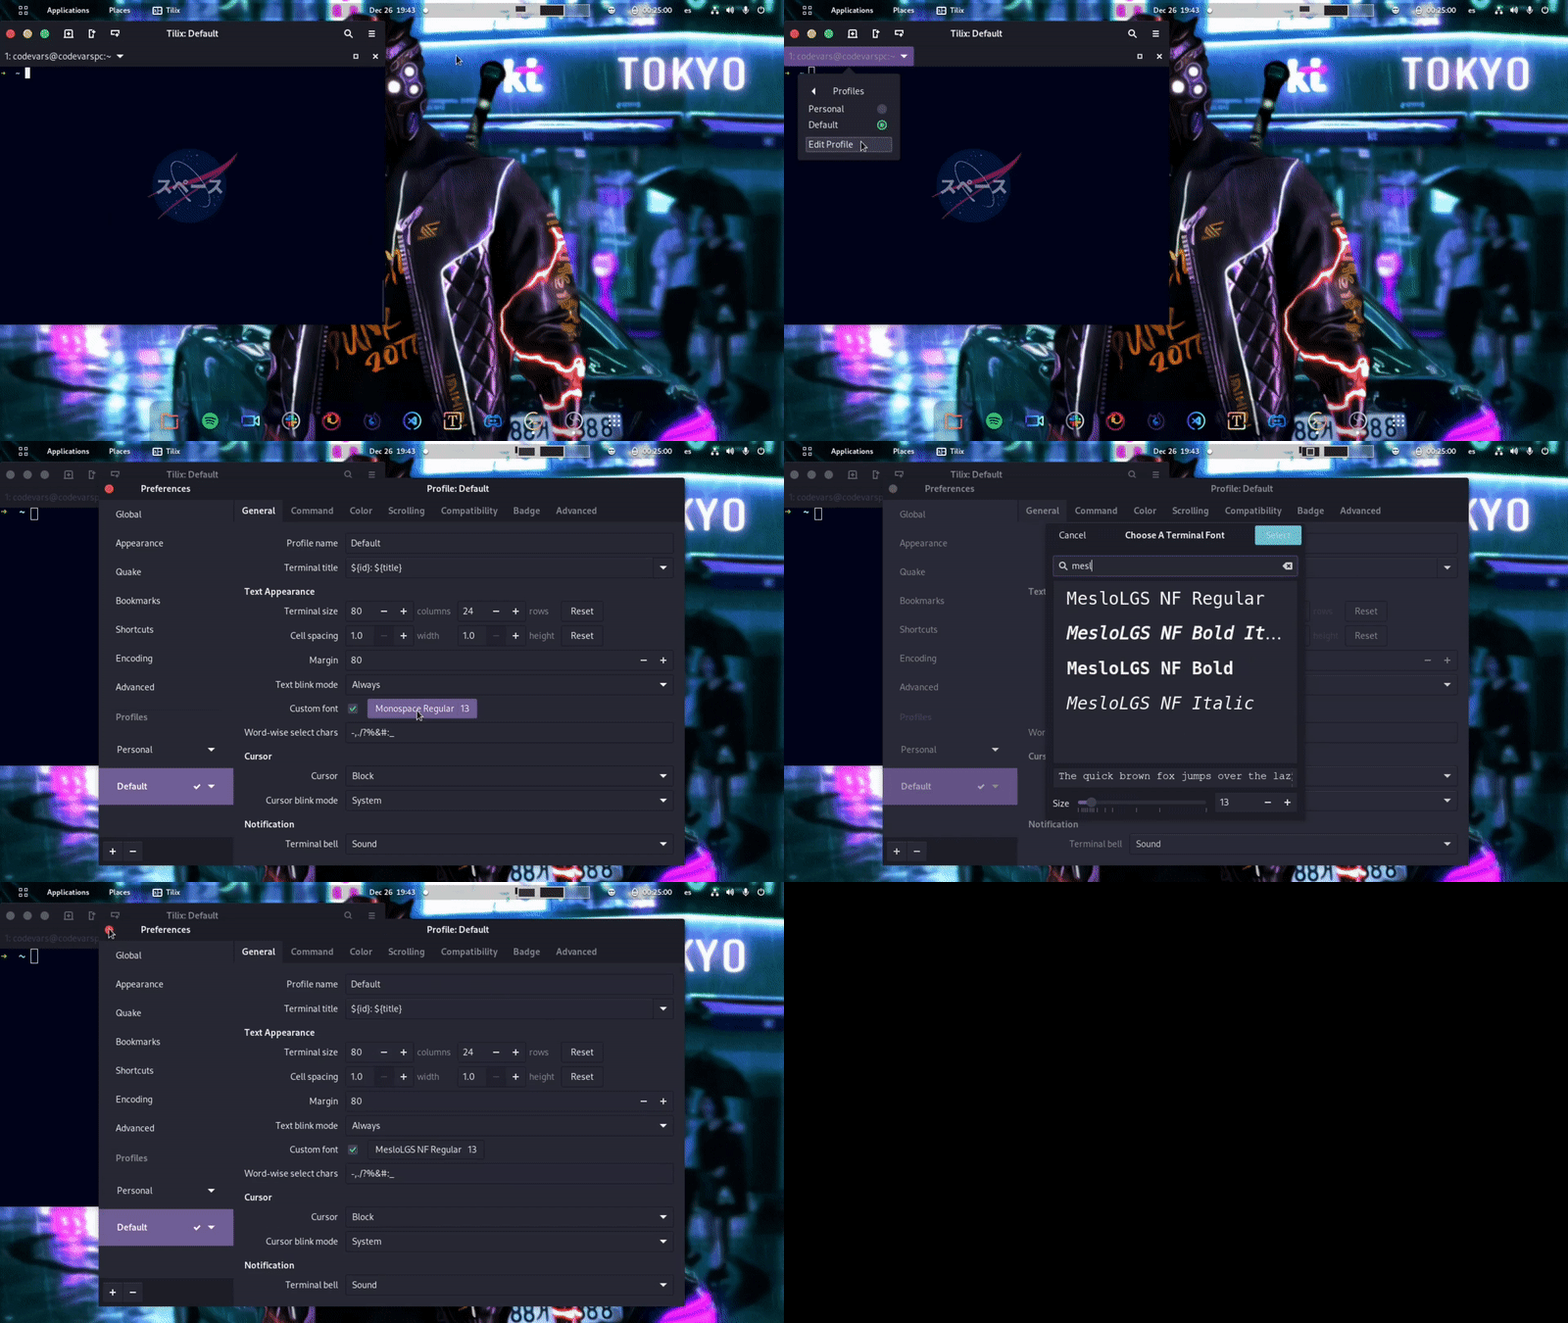
To install the theme you just need to clone it with Git into your local Oh My Zsh folder. As simple as running the following command:
git clone --depth=1 https://github.com/romkatv/powerlevel10k.git ${ZSH_CUSTOM:-$HOME/.oh-my-zsh/custom}/themes/powerlevel10k
Now set the theme as the main Zsh theme. To do that, open the .zshrc file in your home folder. If you don't know where that is as a new user, don't worry—it's in /home/your_username. To open it easily you can run:
gedit ~/.zshrc
Change the line that says
ZSH_THEME="robbyrussell"
to:
ZSH_THEME="powerlevel10k/powerlevel10k"
and save the file. This will set Powerlevel10k as the default theme.
Finally, close and reopen your terminal. The installation wizard will start automatically and guide you to configure the theme so it looks amazing. If it doesn't start automatically for some reason, just run p10k configure in your terminal and the assistant will guide you to start the configuration. In the end your terminal will have all the options you chose; in my case it looked like this.
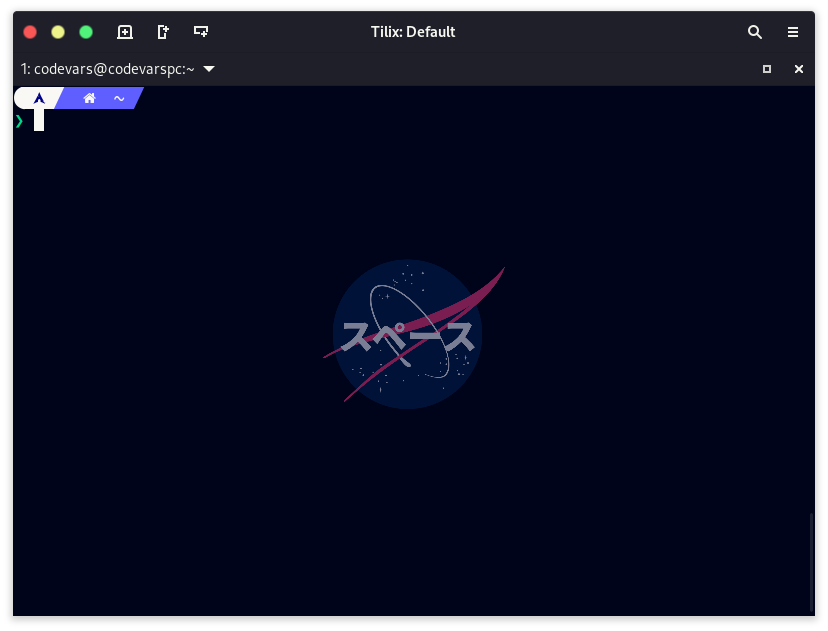
Done—with this you now have a fully customized terminal to your liking. Obviously there's even more you can do, like customizing which icons to show and changing section colors. If you'd like to see something like that please write it in the comments. I'd love to see how your terminal turned out; you can share it in a tweet to @codevars.
#HappyHacking ⚡